Trim the EL wire to be the length you want. The wires should be on the medial side.
Use an exacto knife to cut a channel around the sole, basically cutting out the black stripe that runs around the sole. You should change out the blade often for best results.
Use an exacto knife to cut off the back logo/stamp as if you're trying to peel if off from the bottom up. You only need to cut all the way up, just pass the black stripe so you can continue cutting out a channel.
Use masking tape to mask off the edges of the channel and apply shoe goo adhesive in the channel.
Peel off the masking tape. Now the adhesive is exactly where you want it.
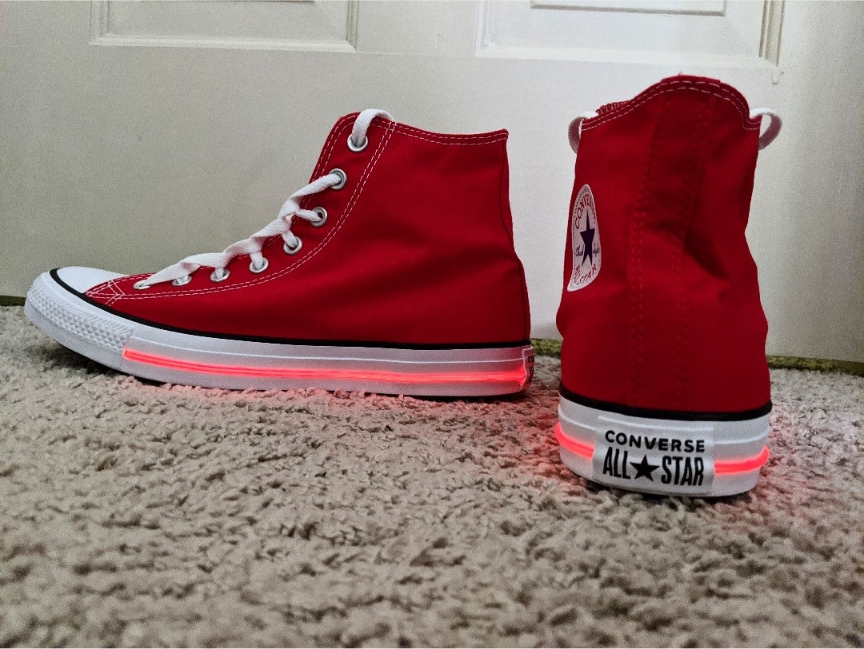
Glue the EL wire into the channel. Remember the wires should be on the medial side.
Use your fingers to hold the wire in place while it dries. Wear gloves. Probably a good hour or so.
Leave the shoe sitting overnight to fully dry.
Use your soldering skills to extend the wires and pass them through the hole in the arch of the canvas. Glue those wires to the sole (see Instagram pics). Glue down the back patch too.
Attach the wires to the EL inverter (the one that takes coin batteries). Make sure you connect the right wires because you could ruin it if you screw up.
Sew loop Velcro to the inside of the tongue. Glue hook Velcro to the inverter. Attach inverter to the tongue.
Fin
Having said all that, I must say the battery doesn't last long. If I were to do this again I'd try to use LED filament.
Ok, here's a quick version of the guide:
Having said all that, I must say the battery doesn't last long. If I were to do this again I'd try to use LED filament.